Saturday, February 22, 2014

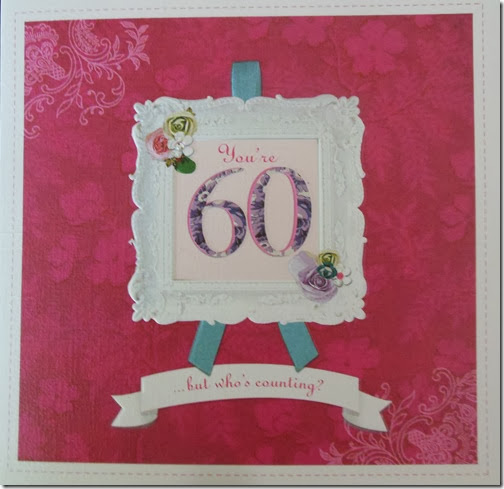
A Big Birthday - Best Wishes – Best Friends - Bits of Art


044

Yes, it was a biggy!

011

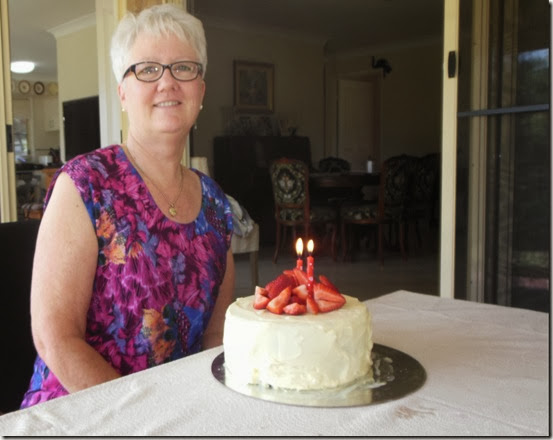
The actual day was on a Tuesday, and so on the Saturday, my darling husband and daughters arranged a family luncheon.  I did not have to do a thing – it was lovely and I was spoiled.  Our oldest daughter made the cake and it was a white chocolate mud cake.  I love white chocolate and the cake was delicious!!

005

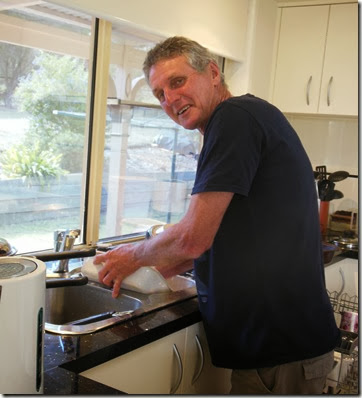
Hubby doing the dishes  xxx

004

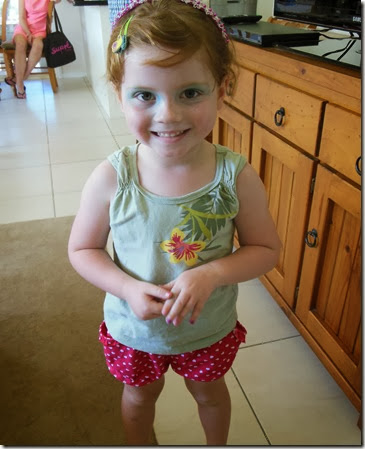
Lilian did her own make up especially for the occasion.


015014

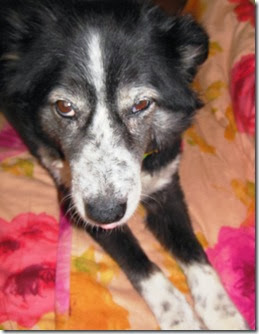
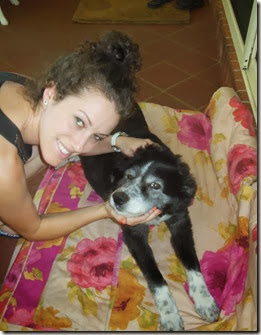
Even Bella, our 13 year old border collie cross, joined in the party and enjoyed some attention from our youngest daughter.

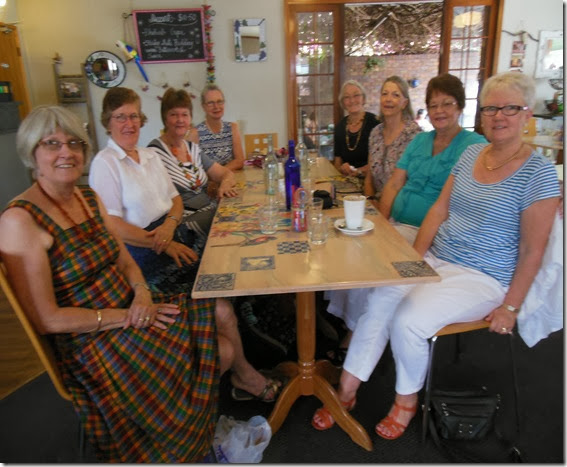
On the Monday my dear friends from quilting joined in celebrating, and we had lunch at ‘The Two Birds’ cafe.  All their food is homemade on the premises – it was yummy.

034

Around the table L-R  Vicky, Marilyn, Linda, Loretta,Shirley,Joan, Marleen & Moi.

  They also spoiled me rotten.

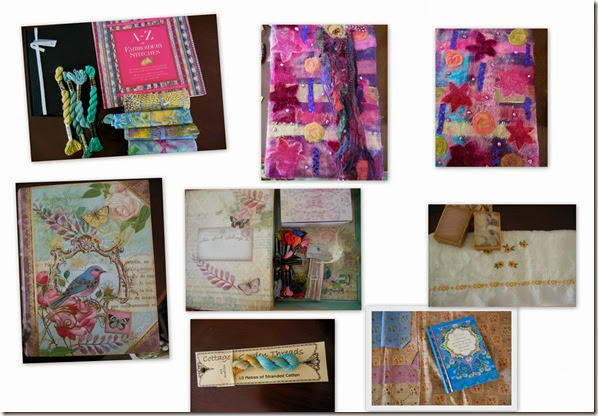
Gifts 60th

Beautiful gifts – thank you my dear friends. 

On the day of the birthday my hubby took me to the flicks and lunch.  We saw ‘The Book Thief’.  I enjoyed my day.

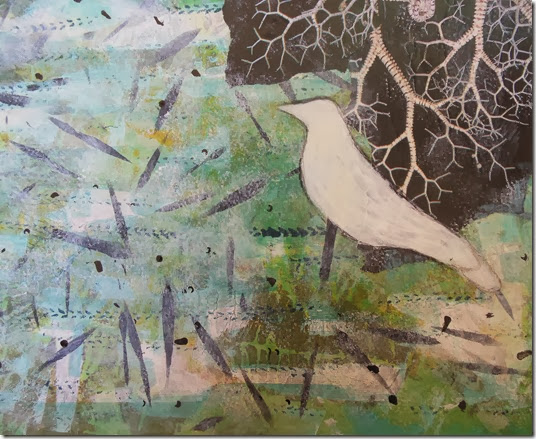
A few weeks ago I did this collage/painting spread on a piece of old card. It will be a book cover one day.

Snowbird Jornal Cover

Front Cover

The branch part of this image is a collage taken from a picture in an old National Geographic magazine.

Bird journal inside cover

Inside cover

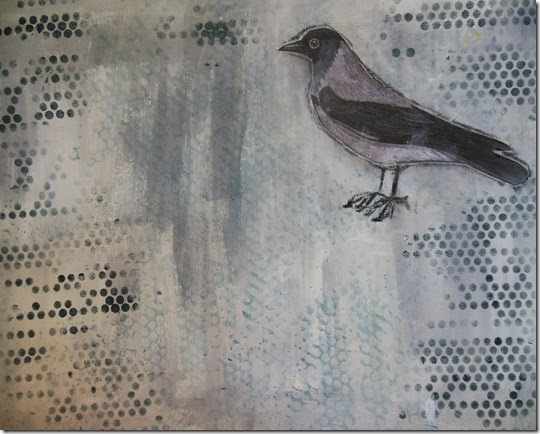
Bird image from Karen over at Graphics Fairy.

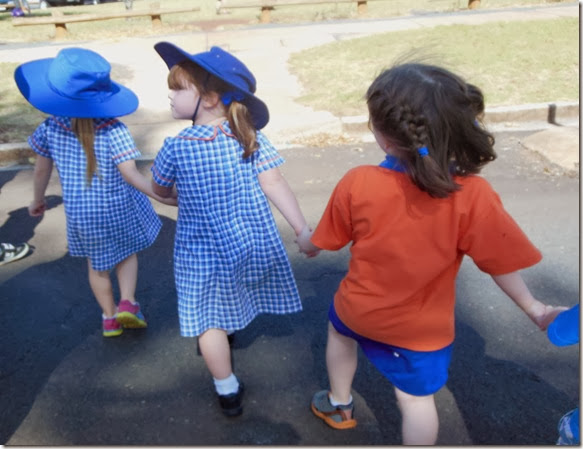
I have to finish with my cute little Lilian.  This is how they come out of prep each day holding hands – very cute. (Lilian in the middle)


036

Until next time……………..Dianne
Sunday, February 9, 2014

Art Quilt Finish : Art Clean Up : Transfer Techniques


A finish at last!
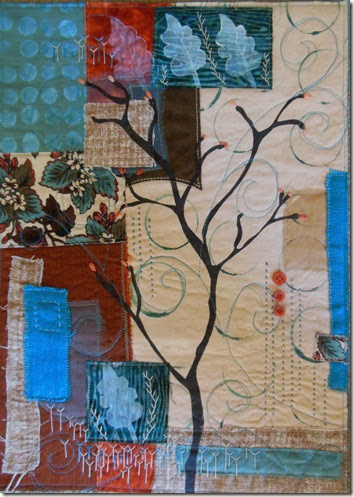
A couple of months ago I did an online course with Deborah Boschert called “Branches Buds & Blossoms : a botanical fabric collage”.
This is the result and I will put it into our quilting exhibition display in September.  The theme for the display is “Botanica”, so this will fit perfectly.
I have called it “Branching Out” as I find my textile art is branching out into collage a lot lately.  It seems to be something I like doing.
Deborah had some great hints and tips, and it was a very enjoyable exercise.
Branching out
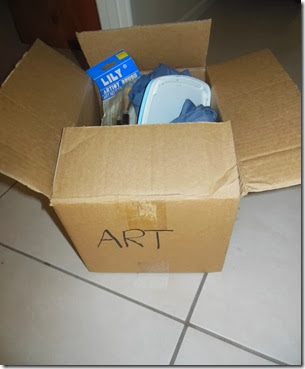
Just recently I discovered a box marked ‘Art” which has been sitting in the bottom of the linen press for about 15 years unopened since we moved into this house. 
Art Box
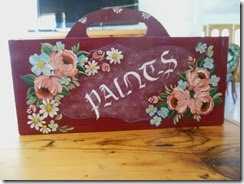
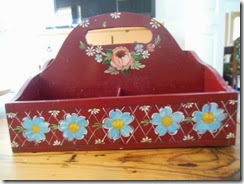
Embarrassingly, most of the stuff inside had to be chucked out as it had deteriorated somewhat.  This prompted a bit of an art clean out.  Looong time ago I was very into folk art painting and did such an awful lot of it.
Paint Box FrontPaint Box Back
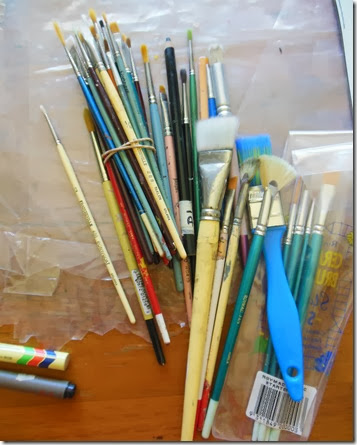
A lot of the supplies from that era were put to the back of the cupboard and the back of mind until a couple of days ago.  Here is what I discovered ( & embarrassingly – again - I forgot I had some of these things).  I was very excited to find them, anyway. 
Paint Brushes
Brushes Galore - all shapes and sizes
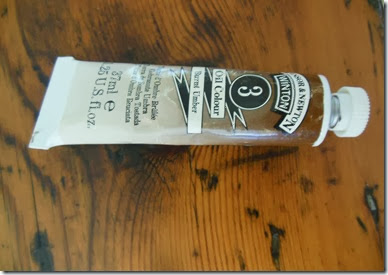
Burnt umber oil
A tube of oil paint in burnt umber which I used to love using for antiquing and giving the aged look.


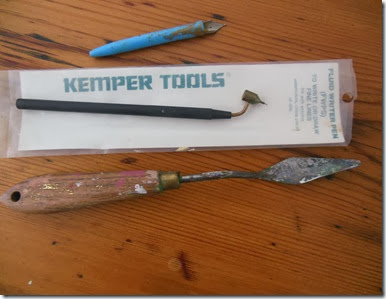
Painting tools

An ink nib, a kemper tool (you fill the well with acrylic ink or watered down acrylic paint and draw with it), and my wonderful paint trowel.

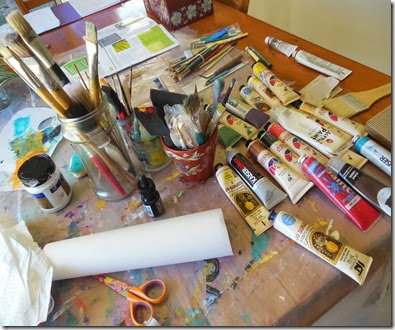
Paint messy table

The dining ??? table – plenty of paints.
Have you ever tried to transfer a quilting design onto a quilt which has already been layered.  Jeesh, it is no mean feat.  This often happens if the quilting idea comes at a late stage in the artistic development of the piece  LOL.
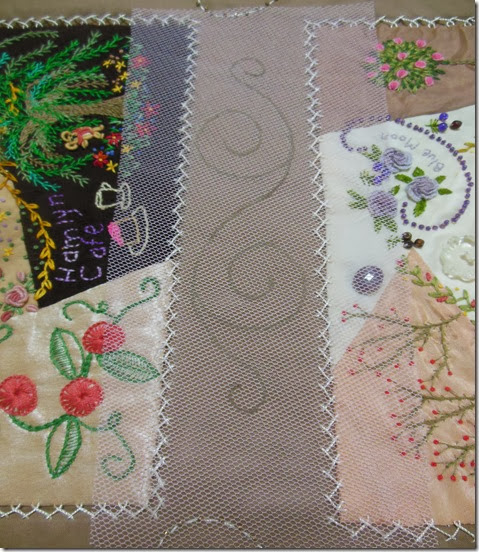
Firstly I tried using the pattern drawn onto tulle and this was very successful but I used a white pitt pen to transfer with.  By the time I had quilted one lot of scrolls all the other transfers on the fabric had rubbed away.  Grrr.
Tulle transferTransfer with tulle
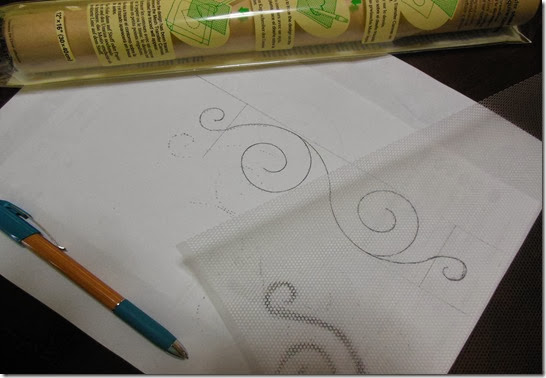
During a wakeful period in the night (you know how it is) I remembered I had purchased a clover product called Transfer Mesh.  Couldn’t wait to get out of bed next morning to give it a whirl.
I find Clover products very, very good on the whole.  This transfer mesh was quite troublesome though, as the pen and pencil wanted to get stuck in the wee holes, which is probably why they tell you to use blunt pencils.
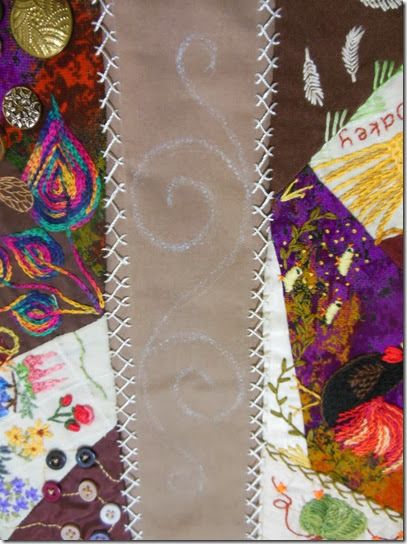
Transfer with mesh
I used a 2B pencil to draw the lines onto the mesh and then a Karisma pencil to transfer to the fabric (as per instruction on the video).  What I learned, with trial and error, was a light touch is better than going hard at it, and slow and steady is better than fast and impatient!!
If you have one of these sheets, do give it a try, it was the best solution to this awkward problem  You can see a video of how to use it HERE – but be aware the audio is terrible.
Until next time……………Dianne